
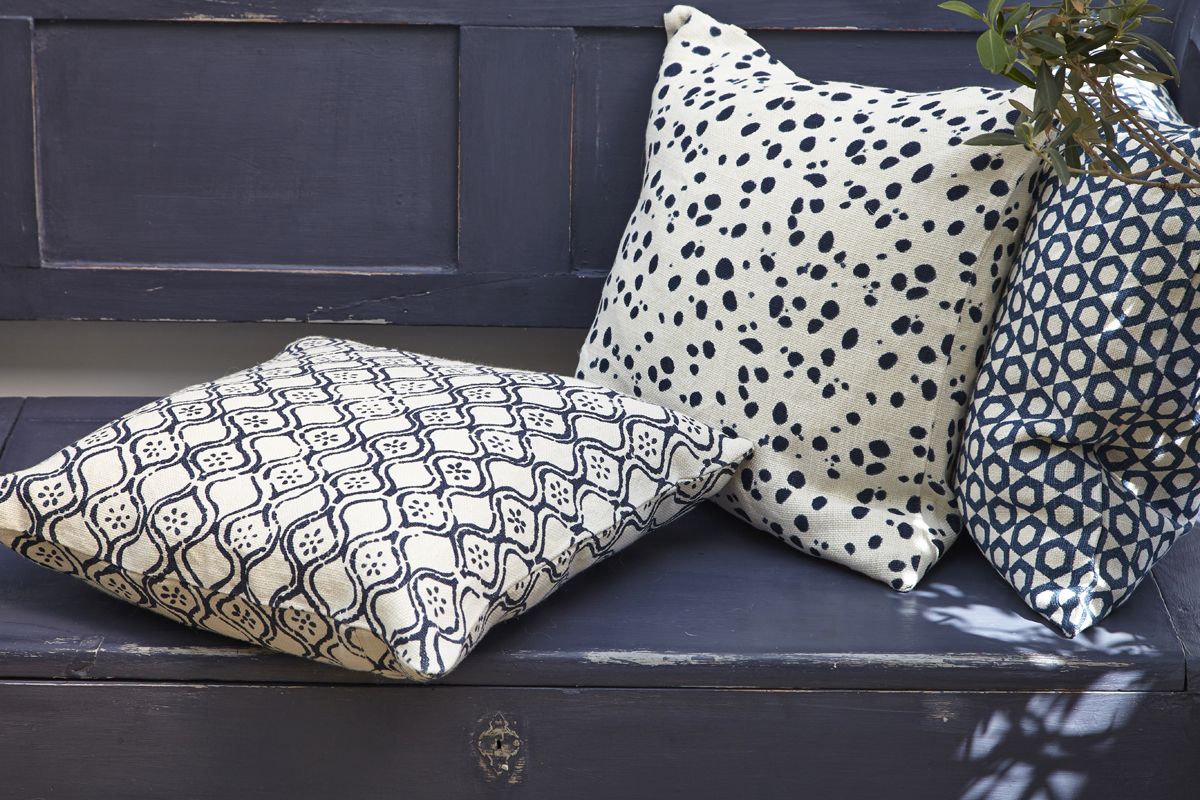
We’re old hands at furniture painting here at LUMA. There’s something very addictive about seeing a tired old chest or bench come alive with a little paint and attention. Our biggest addict is Nicole, our shop manager; she has a great eye for an antique market find and is forever revamping a new discovery for her home. And quite right too, surrounding yourself with beautiful pieces that you’ve personally transformed is very satisfying.
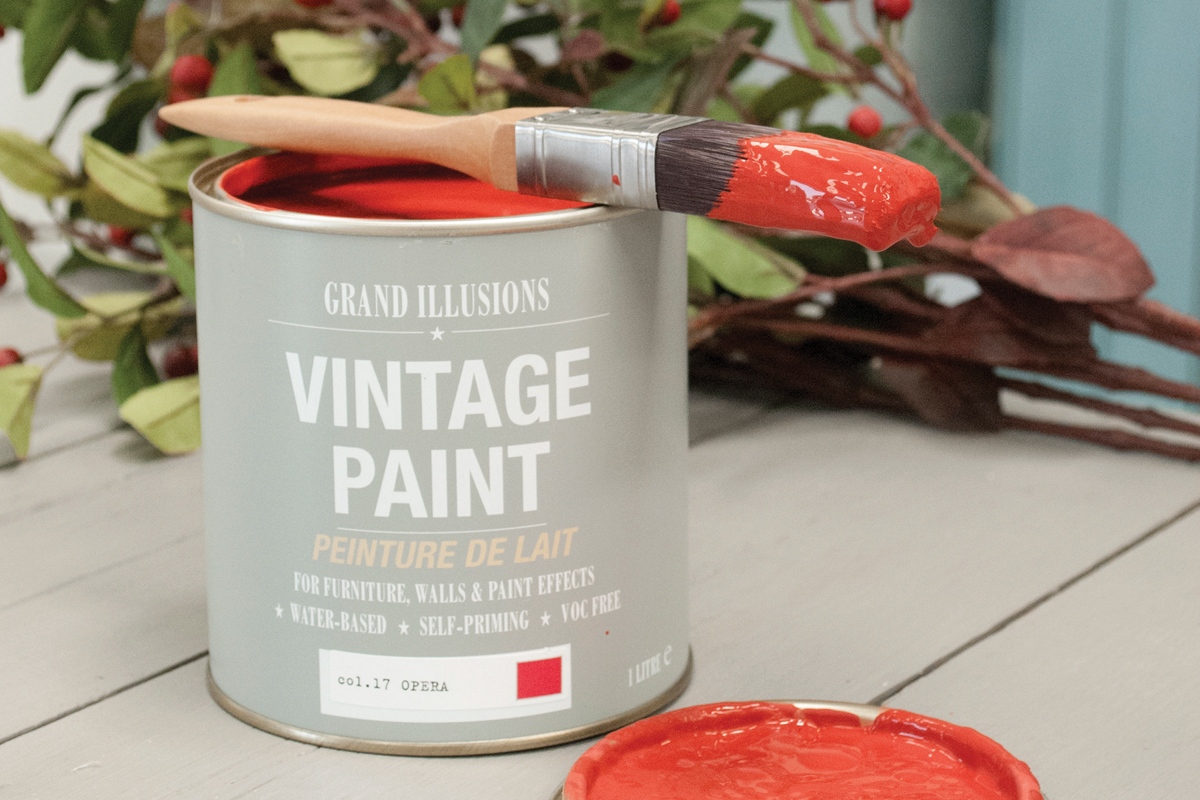
In our shop, we’ve been painting furniture for our customers for years. We haven’t been loyal to a particular paint brand. In our experience, all the big names have merit but demand some compromise; whether it be choice of colour, durability, or ease of use. But recently we’ve been using a new Vintage Paint range that we can’t fault. It produces a lovely chalky, matt finish and has given us professional results every time. It’s also eco-friendly and super easy to use. The collection is produced by Grand Illusions, who made their name in painted furniture back in the 1990s. Their furniture was painted to order and shipped all over the country so their paint had to be reliable and durable. Vintage Paint uses the same successful formula and offers it in twenty-six new colours.
If you’re feeling creative this holiday weekend, scroll down for instructions on how to use the paint. You can refresh a piece of furniture, for indoors or out, or start small with a frame or plant pot. We have stock of all colours in our Barnes shop and it’ll be online in a day or 2. If you’re on our email list, watch out for a special offer coming soon.
Creating that Vintage Look on Furniture
It really is very easy but first of all, you need to assess the correct starting point for your project as how you start depends very much on whether your piece is already painted,or varnished, or waxed, or indeed maybe you’re not sure.
PAINTED OR VARNISHED WOOD
This is the easiest option - if the piece of furniture has been previously painted or stained and varnished, just give the surface a light sanding with some sandpaper and then evenly apply two coatsof the paint.The first coat will act as a primer.
NEW WOOD (i.e., White PIne)
If you plan to distress your paintwork, then we would normally stain new wood with the water-based wood stain first. Just brush it on, evenly and quickly - it’s very easy to use and gives a lovely mellow result. Allow to dry (one hour) and then seal the stained timber with two good coats of our Simply Shellac. Then you can apply two coats of paint.
WAXED FURNITURE
Again this is where we differ from some other paint brands – you can paint directly onto a waxed surface if you wish but we doubt that this will be very tough in the future – it is highly likely that the paint will chip off over time or oily stains might appear.
So, before painting, you will need to remove the old wax, which is surprisingly easy. This can be done by rubbing it gently with methylated spirits using a kitchen scourer, and then wiped clean with hot soapy water. Sugar-soap should do the trick as well. Allow to dry completely before applying two good coats of our Simply Shellac to seal the timber nicely.
STAINED WOOD OF AN UNKNOWN ORIGIN
If you cannot tell if a stained piece of wood is varnished or not, then we strongly advise that you seal the wood with two good coats of shellac prior to painting
– this will avoid nasty brown stains appearing later on in the process, when your apply your varnish or wax. In all cases, let the paint dry thoroughly before attempting the next stage in the process.
SANDING BACK
For best results, we recommend lightly distressing your paintwork to give it a truly vintage appearance. Once the paint is completely dry, give the entire piece a quick rub with a dry kitchen scourer just to break and soften the surface of the paint.
TOP TIP - before getting out the sand paper, try rubbing off some of the surface paint with baby wipes to create a smooth, softly-worn look.
Use medium grade sandpaper to rub the edges to reveal the stained surface below – go gently and slowly, to assess how much pressure it takes. Go for random areas rather than symmetry – think where normal wear and tear might occur. Do the same for corners, feet and knobs if your piece has them. On the flat surfaces go with the grain of the wood – you can do cross-rubs at 90 degrees which can look very realistic but avoid swirly movements. Finish with another rub of the scourer to flatten and soften. Brush off any excess dust.
FINISHING
Now you have two choices.You can either varnish the piece with our acrylic Simply Varnish - this has a slight sheen and is water-resistant and is how we used to finish our furniture when sold commercially. Alternatively, youcan use our Simply Wax, which will intensify the colour and give a rich lustre to the piece, but is not water-resistant and can mark - so do use coasters!
SIMPLY VARNISH
Stir well and apply at least onecoat of Simply Varnish evenly onto the paint with a clean brush – It is slightly luminous to start with, but this is nothing to worry about – it will be touch dry in approximately thirty minutes depending on the temperature. As you will see, although it is ‘flat’ it has a rich lustre rather like wax.
SIMPLY WAX
Apply the wax quickly and sparingly with a soft clean cloth or brush and then leave. Do not continue to rub the wax once applied as you could start to remove the paint. Allow to harden for a minimum of one hour, ideally overnight.Then with a new clean cloth, buff and polish to a rich sheen.
bookmarked!!, I really like your web site!
Thanks Andre, very kind.
Thanks Isabella, some painted furniture inspiration coming soon!